
Chocolate Covered Marshmallows

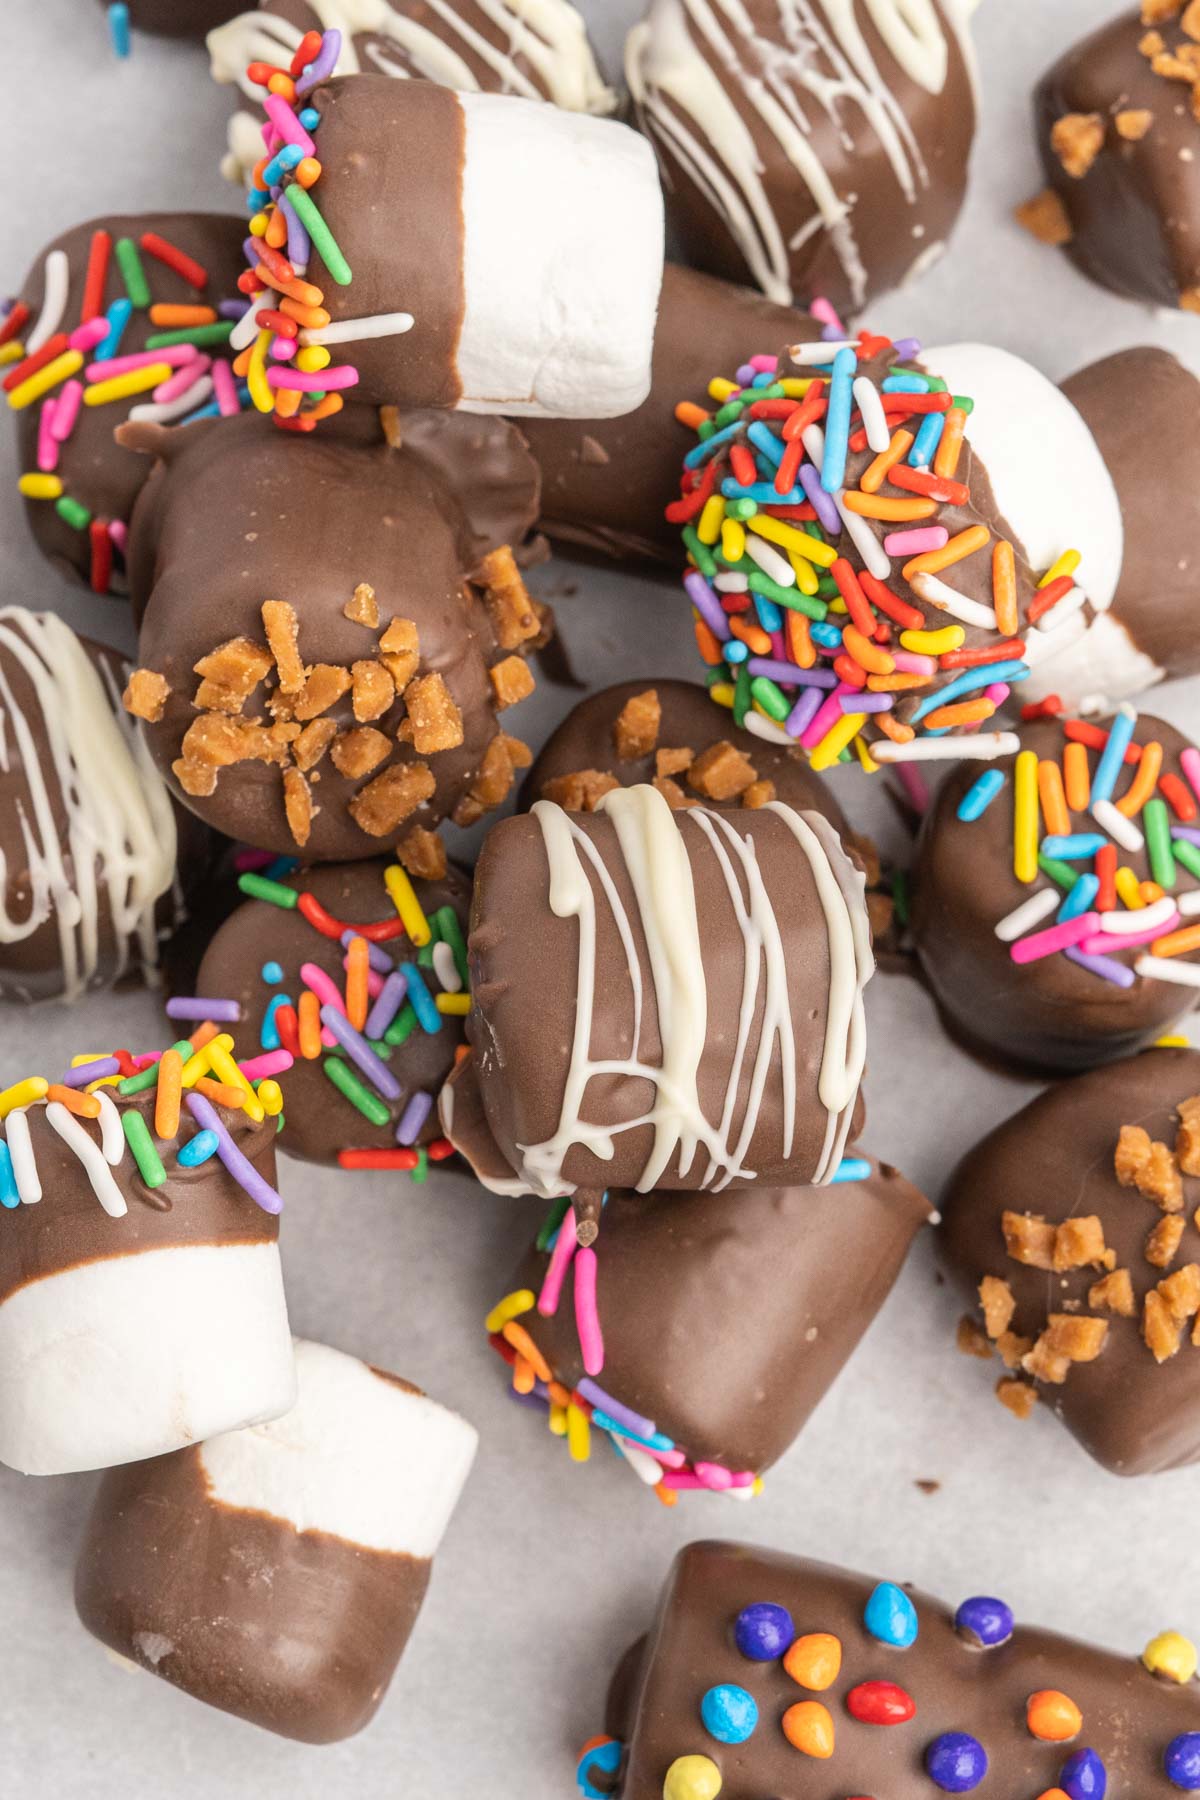
Soft, fluffy marshmallows coated in decadent milk chocolate and decorated with candy sprinkles. Chocolate-covered marshmallows are a tasty sweet treat that are quick and easy to make. The sweet marshmallow and creamy chocolate are a delicious combination, and they can be decorated any way you like. Place two or three marshmallows on a cake pop stick and turn these treats into fun marshmallow pops!

This post may contain affiliate links. As an Amazon Associate, I earn from qualifying purchase
What are Chocolate Covered Marshmallows?
Chocolate-covered marshmallows are marshmallows dipped in chocolate to form a chocolate shell on the sweet fluffy marshmallow. You can often find them in the grocery store, especially around the holidays, in fun shapes such as jack-o-lanterns, easter eggs and Santas.
But it is incredibly easy to make chocolate-covered marshmallows yourself.
I used large marshmallows for this creation and stacked them two high on paper lollipop sticks to form marshmallow pops.
If you don’t want to make these into lollipops, then you can simply coat individual marshmallows with chocolate instead.
The fun part is decorating them. I love to make them colourful and use rainbow sprinkles and candy-coated chocolate bits, but there are endless possibilities when it comes to these treats. Chopped peanuts or almonds, toffee bits, crushed peppermint candy and white chocolate drizzle all make fun choices.

Ingredients
For a full list of ingredients and measurements, see the printable recipe card at the bottom of this post.
You only need three ingredients to make your own homemade chocolate-covered marshmallows.
Chocolate melting wafers – You will want a good quality chocolate melting wafer to coat the marshmallows. Melting wafers, or candy melts, melt easily and smoothly, creating a nice coating on anything you are dipping. You can use milk, dark, or even white chocolate if you prefer.
Large Marshmallows– You can use your favourite brand of marshmallows or make your own! Use jumbo marshmallows if you want extra large marshmallow pops.
Decorations – Decorating these marshmallow pops is a lot of fun, and you can get really creative. Decorate for the holidays by using certain colours or crushed candy canes. Rainbow sprinkles and candy-coated chocolate bits are my favourite, but toffee bits and white chocolate drizzle are great too.

Step by Step Instructions
Assemble the Marshmallow Pops
Begin by pushing one or two marshmallows onto each lollipop stick and set aside.
Then place the melting wafers in a microwave-safe bowl. Heat for 20-second intervals, stirring between intervals until the chocolate is melted and smooth

Coat the Marshmallows with Chocolate
Step 1 – Place the melting wafers in a microwave-safe bowl. Heat for 20-second intervals, stirring between intervals until the chocolate is melted and smooth.
Lower a marshmallow pop into the melted chocolate and turn the stick a few times to ensure the chocolate is fully coating the marshmallows.
Step 2 – Turn the stick a few times to ensure the marshmallows are fully enrobed in chocolate. Then lift them out of the chocolate. Tap the stick on the side of the bowl a couple of times to allow the excess chocolate to drip off the marshmallows, then place the chocolate-coated treat on a baking sheet lined with parchment paper.
Repeat until the desired amount of marshmallows are coated in chocolate.

While the chocolate is still soft, decorate as desired with sprinkles, nuts or toffee bits.
If you are going to decorate with chocolate drizzle, allow the first coat of chocolate to set first.
Allow the chocolate to be fully set, then move the marshmallow pops to an airtight container for storage.
Pro-Tip: If you want an extra thick layer of chocolate on your marshmallows, wait until the first coat is fully set, then dip them in the chocolate again. Allow the second coating of chocolate to set before moving them to a container for storage.
Dipping Single Marshmallows
If you want to make individual chocolate-coated marshmallows instead of marshmallow pops, simply lower a marshmallow into the chocolate using a dipping tool or fork.
Turn the marshmallow to coat it with chocolate, then lift it out, allow the excess chocolate to drip off and place them on a parchment-lined baking sheet to set.
Decorate as you would the marshmallow pops.
Substitutions & Variations
Chocolate melting wafers – If you don’t have melting wafers, you can use a good quality chocolate chip instead. In order for them to melt smoothly, you may need to add 1 or 2 teaspoons of vegetable shortening.
Marshmallows – While large marshmallows work best for this recipe, you can use any size of marshmallow you like. Use the jumbo marshmallows for extra large marshmallow pops, or place many mini marshmallows on a lollipop stick. You can also experiment with flavours using one of the many flavoured marshmallows available, like strawberry or chocolate.
Decorations – When it comes to decorating your marshmallows and marshmallow pops, you can use anything you like. A drizzle of white or dark chocolate, rainbow sprinkles, toffee bits, chopped nuts, crushed candy canes, candy-coated chocolate chips or anything else you can think of.

Equipment
Paper Lollipop sticks – Paper lollipop sticks are perfect for making your marshmallow pops. You may find them labelled cake-pop sticks in the baking aisle. If you can’t find lollipop sticks, you can use wooden popsicle sticks. If you want edible sticks, try candy canes or pretzel rods!
Chocolate Dipping Tool – If you want to coat individual marshmallows without making marshmallow pops, you will need a tool to dip the marshmallow and remove it from the chocolate.
If you don’t have a dipping tool, you could use a fork instead.
Storage
Chocolate-covered marshmallows can be stored in a single layer in an airtight container at room temperature, and they should keep well for several weeks. If you need to stack them, place a piece of parchment or waxed paper between the layers to prevent them from sticking.
If you live in a warm climate and find that the chocolate melts at room temperature, you can store them in the refrigerator. After chilling, the chocolate may sweat when coming to room temperature, but it is still perfectly delicious and edible.

Top Tips & FAQS
These chocolate marshmallows do not need to be refrigerated unless you live in a warm climate or you are making them during the hot summer months. They will be fine at room temperature in most climates.
As long as they are stored in an airtight container, these marshmallows should keep for several weeks.
More Chocolate Recipes

Chocolate Covered Marshmallows
Equipment
Ingredients
- 48 large marshmallows
- 2 cups chocolate melting wafers
- Rainbow sprinkles optional
- Candy-coated chocolate chips optional
Instructions
- Push between one and three marshmallows onto each lollipop stick and set aside.
- Place the melting wafers in a microwave-safe bowl. Heat for 20-second intervals, stirring between intervals until the chocolate is melted and smooth.
- Lower a marshmallow pop into the melted chocolate and turn the stick a few times to ensure the chocolate is fully coating the marshmallows.
- Lift the marshmallow stick out of the chocolate. Tap the stick on the side of the bowl a couple of times to allow the excess chocolate to drip off the marshmallows, then place the chocolate-coated treat on a baking sheet lined with parchment paper.
- While the chocolate is still soft, sprinkle with desired decorations. If you are drizzling them with a different chocolate, wait until the first coat of chocolate is set.
- Repeat until you’ve made the desired amount of marshmallows.
- Allow the chocolate to competely set before moving to containers for storage.
Notes
Nutrition
Nutritional information is based on third-party calculations and should be considered estimates. Actual nutritional content will vary with brands used, measuring methods, portion sizes and more.


Hi! Do the marshmallows become soggy after about maybe 4-5 days stored in an airtight container? Thanks! 🙂
I’ve never had that issue. You will want to ensure no moisture or condensation enters the container.