Jack-O-Lantern Cake Pops
Chocolate cake, rolled into balls and then dipped in a chocolate candy coating. These Halloween cake pops are easier to make than they look and the kids will love to decorate them.
This post and recipe was created for #HalloweenTreatsWeek! This event is being sponsored by Dixie Crystals. As always, all opinions and thoughts are 100% my own

Cake pops are always hit and it’s easy to see why. They are the perfect bite of cake, they are usually decorated to look pretty or cute, and they come on a stick.
And it seems that whenever you serve food on a stick it is instantly better. Just look at all the food at the fair and you will see what I mean.
Cake pops are easier to make than you would think and you can decorate them however you please.
Because Halloween is coming I chose to dip these in white chocolate that I coloured with gel food colouring and paint Jack-O-Lantern faces on them with melted chocolate chips. But depending on the season you could decorate these for Christmas, Easter or birthday parties.
Cake pops are as fun to make as they are to eat.
The ingredients used are super versatile. You can get as complicated or as simple as you want. You can make every component from scratch or you can buy a cake, a tub of frosting and get to work.
If you don’t want chocolate cake pops you could use any combination of cake and frosting that you like.
Kids love to decorate the cake pops and if you don’t want to go through the work of drawing faces then you can simply roll them in some sprinkles or use candy pieces to create a face.

Ingredients & Substitutions
You don’t need a lot of ingredients to make these cake pops, and you can make them entirely from scratch or save yourself some time by using store bought ingredients.
- 9×13 Chocolate Cake – Any 9×13 (frosting free) sheet cake. You can buy one or make one. I used a Devil’s food cake box mix, but if you have a favourite chocolate cake recipe you can use that.
- Chocolate Frosting – I’ve included a recipe below that I love, made with butter, chocolate and powdered sugar. But you can use your favourite or buy a tub of whipped frosting to keep things super simple. If making your own then Dixie Crystals powdered sugar is a great choice for super smooth frosting.
- Candy Melts or White Chocolate Chips – You can purchase orange candy melts, which are white chocolate that has been pre-coloured, or you can use white chocolate chips or white candy melts and colour them yourself with orange gel food colouring.
- Chocolate Chips – I used melted chocolate chips to draw the faces, but you could also use icing.
- Gel Icing Tubes – I used a tube of green gel icing for the stem, but regular icing would also work.
Expert Tip – If you are going to dye the white chocolate yourself make sure you are using gel food colouring. Water based food colouring drops will cause the chocolate to seize.
Step by Step Instructions
To make the cake balls
One – Bake the cake, let it cool completely and make the frosting. I usually bake mine the day before.
Two – Crumble the cake into a large bowl and add half cup of the frosting. Mix well with a wooden spoon until the cake and frosting come together and will hold its shape if you squeeze a small amount in your hand. If it still feels too dry you can add 1-2 tablespoons of frosting until it holds, but you don’t want it to feel wet.
Three – Form into balls just over one inch diameter. Roll between your hands and place on a parchment or wax paper lined baking sheet. I like to use a cookie scoop to get uniform sizes.
Place in the freezer for 15 minutes then re-roll any cake balls that need to be smoothed out.

Expert Tip – It will be easier to smooth the cake balls once they have chilled for 15 minutes, so don’t worry about getting them perfect right away.
To Coat the cake pops:
One – Working one at a time, dip the end of the cake pop stick in the melted candy melts.
Two – Poke the stick into the cake ball being sure not to go all the way through. Do this for all of the cake pops, then chill in the freezer for 2-5 minutes to let the chocolate firm up.
Three – Reheat the candy melts if needed. Working one at a time, dip the cake pop into the melted candy melts and rotate to coat the entire cake ball. Gently tap the stick against the side of the bowl to allow excess chocolate to drip off.

Expert Tip – Poke holes in the bottom of a cardboard box that are just a bit smaller than the diameter of the cake pop stick. After you have coated your cake pops in chocolate, poke the sticks through the holes in the cardboard to keep them upright while you coat the remaining pops. This also makes it easier to decorate them.
After the chocolate coating has set you can decorate your cake pops.
Add faces and stems to create your Jack-O-Lanterns. I painted the faces with some melted chocolate chips, but you could use icing as well.

Top Tips & FAQS
If you find your candy melts or chocolate chips are seizing while you melt them it is usually due to one of two things. Either the heat you are using is too high, or water got into the chocolate.
If you are melting them on the stove, be sure you are using a low heat and be careful not to get any water from the double boiler in the bowl or upper pot. If using the microwave, be sure you are using short bursts of no more than 20 seconds at a time and stirring between each interval.
If you are going to dye white chocolate you need to be sure you are using a gel food colouring and not a water based drop style food colouring as this will also seize the chocolate.
If your cake pops are not holding together and falling off the stick, it is very likely that you added too much icing to the crumbled cake.
You only want to add enough so that it holds together when given a gentle squeeze. If too much icing is added the cake balls will become too soft and they will fall apart when you try to place them on the stick. Or they will fall off shortly after.
Related Recipes
Take a look more spooky Halloween recipes from our #HalloweenTreatsWeek Bloggers today: Halloween Cookies & Bars:- Slice & Bake Pumpkin Cookies from The Flour Handprint
- Halloween Lollipop Cookies from Lemon Blossoms
- Blood Splatter Cupcakes from Big Bear’s Wife
- Jack-o-lantern Cake Pops from Tastes of Homemade
- Graveyard Dirt Cake from House of Nash Eats
- Halloween Mummy Cake Pops from Karen’s Kitchen Stories
- Air Fryer Mummy Apple Mini Tarts from Fresh Coast Eats
- Cinnamon Roll Intestines from Devour Dinner
- Frankenberry Jell-O Shots from Sweet ReciPEAS
- Halloween Chex Mix from West Via Midwest
- Bloody Zombie Brains (Candied Walnuts) from The Spiffy Cookie
- White Chocolate Mummy Crispy Rice Treats from Savory Moments
- Halloween Spider Web Dip from I Am A Honeybee

Jack-O-Lantern Cake Pops
Ingredients
Chocolate Cake
- 1 9×13 Chocolate sheet cake store bought, from box or homemade
Chocolate Frosting
- 1/2 Cup Salted butter softened
- 1/4 Cup Semi-sweet chocolate chips melted
- 1 Tbsp Unsweetened cocoa powder
- 2 Cups Powdered sugar
- 2-3 Tbsp Milk
Decorating the Cake Pops
- 1 Cup Orange candy melts or white chocolate chips and orange gel food colouring
- 2 Tbsp Semi-sweet chocolate chips melted
- Green gel icing
- 24 Cake pop sticks
Instructions
Baking the Cake
- If baking a cake yourself, bake the cake according to directions and allow it to cool completely. (I used a simple boxed cake mix)
Making the Frosting
- In a medium size bowl, beat the butter until fluffy. Add the melted chocolate and unsweetened cocoa and mix well.
- Slowly add the powdered sugar and mix until well combined then add milk 1 tablespoon at a time until the frosting is smooth and spreadable.
Making the Cake Pops
- Crumble the cake into a large bowl.
- Add 1/2 cup of the prepared frosting and mix well with a wooden spoon. It will take a few minutes, but you should notice that it becomes less crumbly and starts to come together. If the cake still feels dry after mixing well add 1-2 tablespoons of frosting until it will hold together if you squeeze a small amount in your hand.
- Form into 24 balls, just over an inch round. Round the balls out by rolling them in your hands. Don't worry about forming perfect balls as you can smooth them out after chilling. After you've formed the balls place the tray in the freezer for 15 minutes.
Coating the cake pops in chocolate
- Remove the cake balls from the freezer and gently roll any that need to be smoothed out. Return the pan to the freezer while you melt the candy melts.
- Place the candy melts in a microwave safe bowl and microwave for 20 seconds at a time stirring between intervals until smooth. If you do not have a microwave you can heat on low over a double boiler on the stove, but be careful not to get any water in the chocolate.If the chocolate melts, but doesn't feel smooth you can add 1-2 teaspoons of vegetable shortening or coconut oil and this should help make it smoother.
- Remove the cake balls from the freezer. Working one at a time, dip one end of a cake pop stick in the melted chocolate, then gently push the stick into a cake ball being sure not to go all the way through. Repeat with remaining sticks. Then place in the freezer for 2-5 minutes until the chocolate on the stick has set.
- If needed, repeat the process to melt the chocolate before beginning to coat the cake pops.
- To coat the cake pops in the melted choclate, dip and twirl each cake pop until completely coated. Gently tap the stick on the side of the bowl to allow any excess chocolate to drip off. Either place the coated cake pops on a parchement or silicone lined baking sheet, or you can poke holes in the bottom of a cardboard box and use this to place the cake pops in while you coat the rest.
Assembling the Jack-o-lanterns
- Melt 2 tablespoons of chocolate chips in a microwave safe bowl using the same method we used for the candy melts.
- Dip the end of a toothpick into the melted chocolate and use this to draw the faces on the cake pops.
- Use the green gel icing to pipe a stem on the top of each cake pop.
Notes
Nutrition
Nutritional information is based on third-party calculations and should be considered estimates. Actual nutritional content will vary with brands used, measuring methods, portion sizes and more.
Happy Halloween!
Spooky Season is here and it is time for 2020’s #HalloweenTreatsWeek event! #HalloweenTreatsWeek is a yearly Halloween blogging event that is hosted by Angie from Big Bear’s Wife & its a creepy and haunting week-long event is filled with some amazingly wicked Halloween treats, recipes and some frightfully fun giveaways.“When witches go riding, and black cats are seen, the moon laughs and whispers ‘tis near Halloween.”
 For the 3rd annual #HalloweenTreatsWeek event we have 30 hauntingly talented bloggers that are sharing their favorite Halloween recipes throughout the week!
Follow the hashtag #HalloweenTreatsWeek on social media and look at the bottom of each post to see all of the Halloween recipes that we’re sharing!
Plus, don’t forget that we have some great giveaways for you this week thanks to our amazing sponsor and bloggers this year!
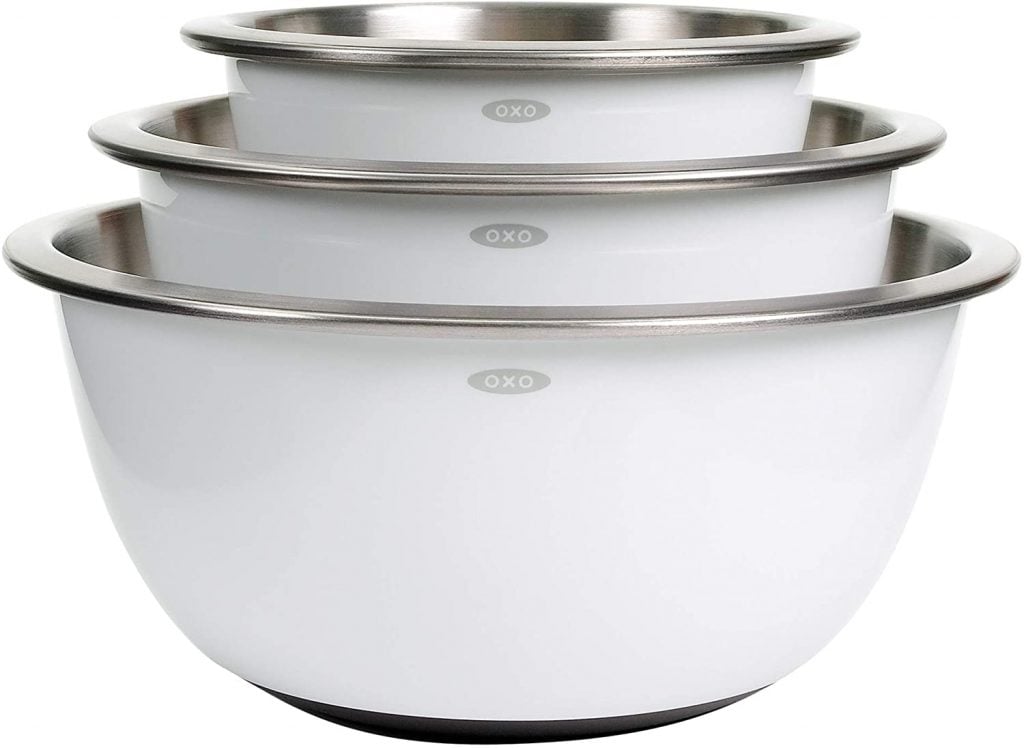
Prize #1 from Dixie Crystals
OXO Good Grips 3-Piece Stainless-Steel Mixing Bowl Set
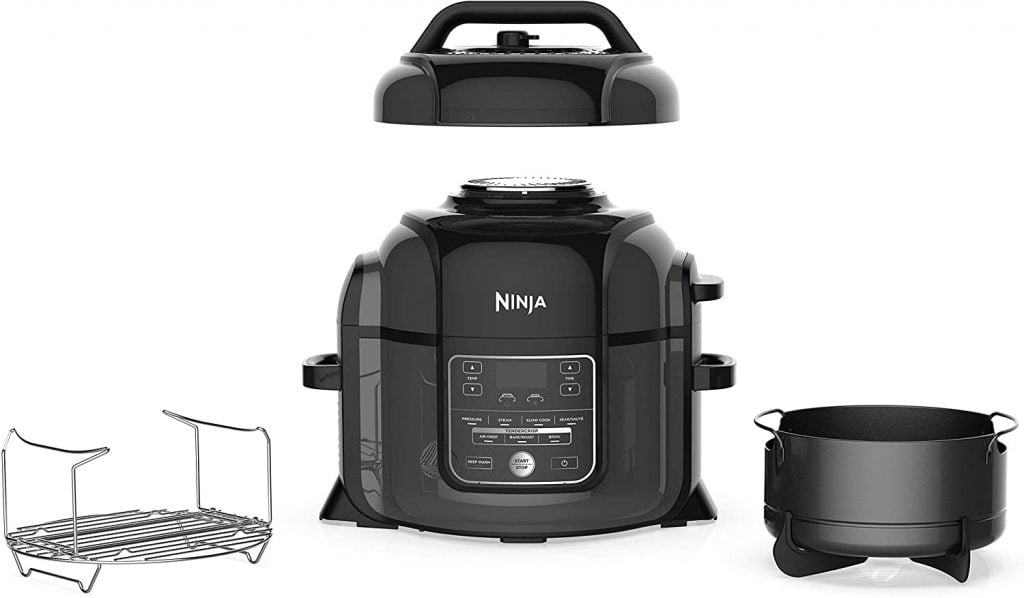
Prize #2 from Angie at BigBearsWife
Ninja OP301 Foodi 9-in-1 Pressure, Slow Cooker, Air Fryer and More, with 6.5 Quart Capacity and 45 Recipe Book, and a High Gloss Finish
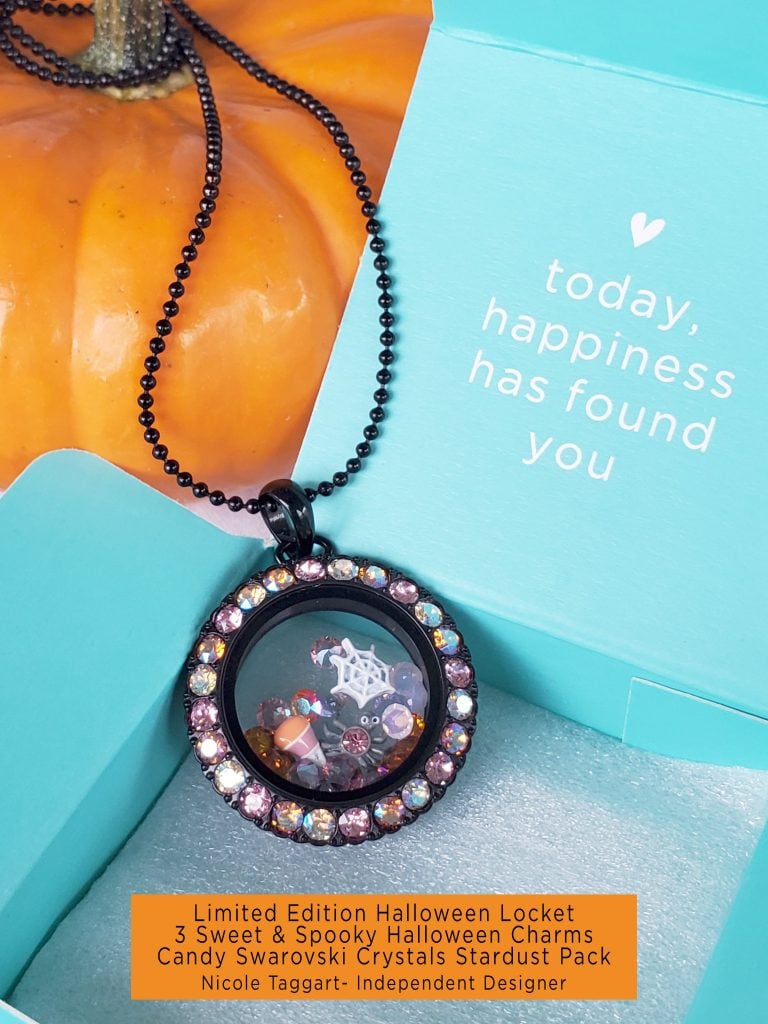
Prize #3 from Nicole Taggart’s Origami Owl Jewelry Bar
Origami Owl Locket and Halloween Charms
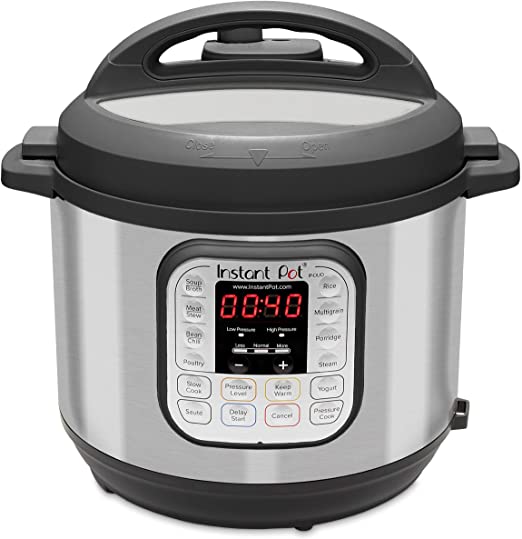
Prize #4 from Kathy at Lemon Blossoms
6 Quart Instant Pot Duo 7-in-1 Electric Pressure Cooker
Prize #5 from Terri at Our Good Life
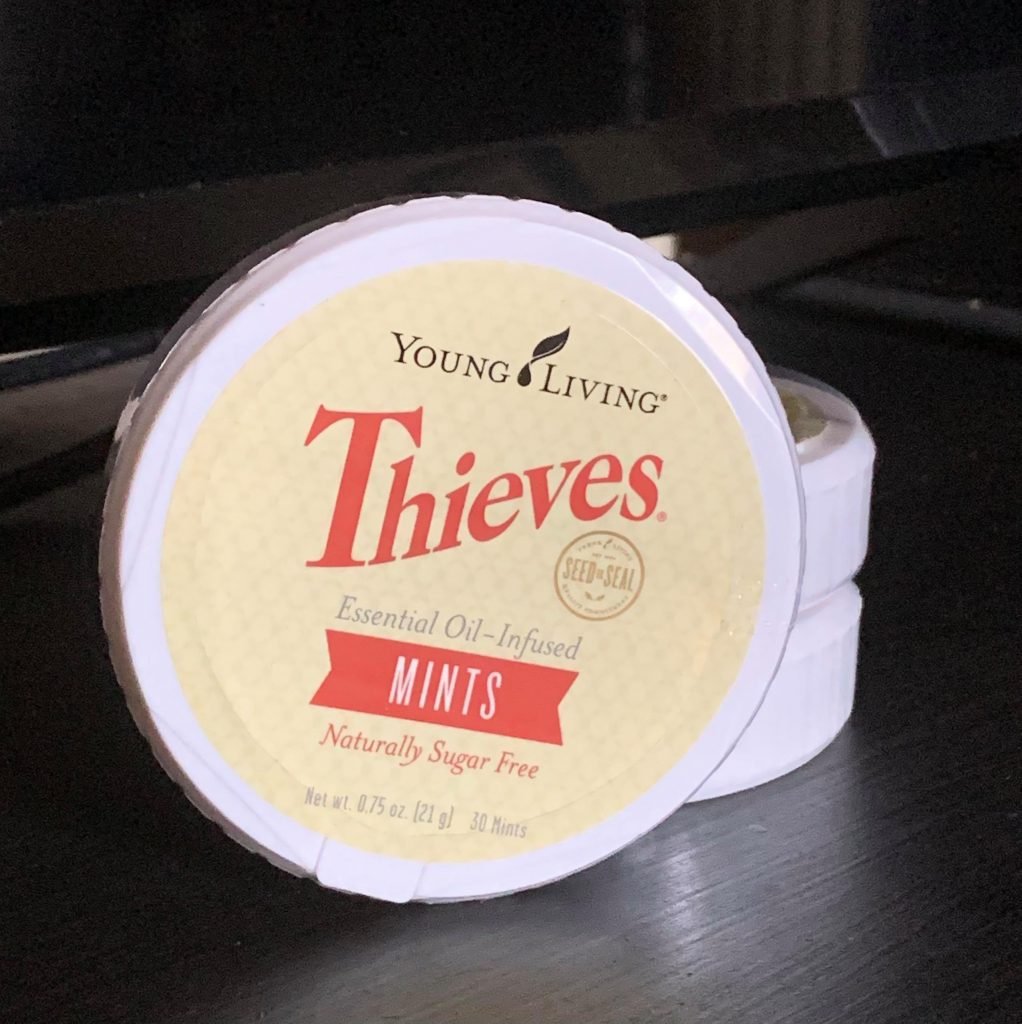
Young Living’s Thieves Mints ($50 Value)
Pop a Thieves Mint into your mouth for cinnamint-fresh breath after meals. Made with naturally derived ingredients and free of artificial sweeteners, dyes, and preservatives, Thieves Mints are a choice you can feel good about. Created with Young Living’s Thieves essential oil blend, these mints deliver minty coolness with a hint of warm, sugar-free sweetness. Thieves Mints come in a conveniently sized container that is great to take on the go!!
Prize #6 from Julie at Back To My Southern Roots
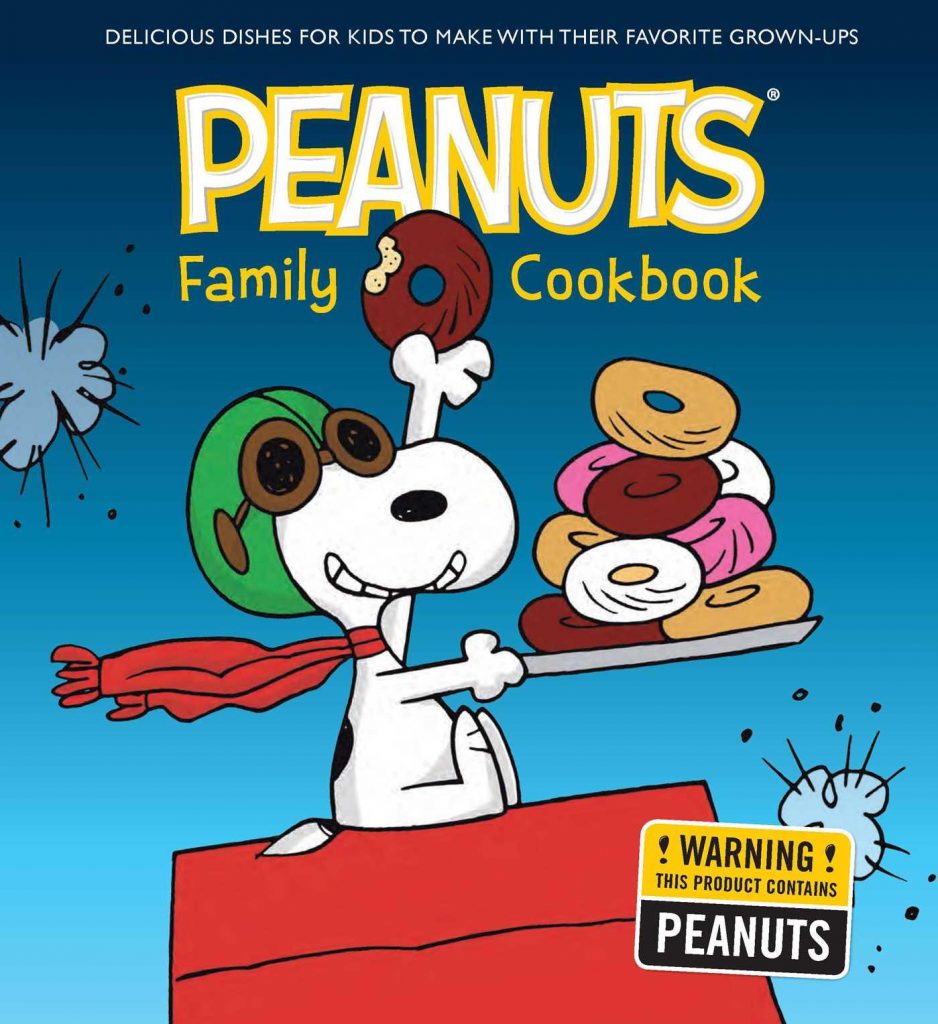
1 Copy of – The Peanuts Family Cookbook: Delicious Dishes for Kids to Make with Their Favorite Grown-Ups
Prize #8 from Peabody of Sweet ReciPEAS
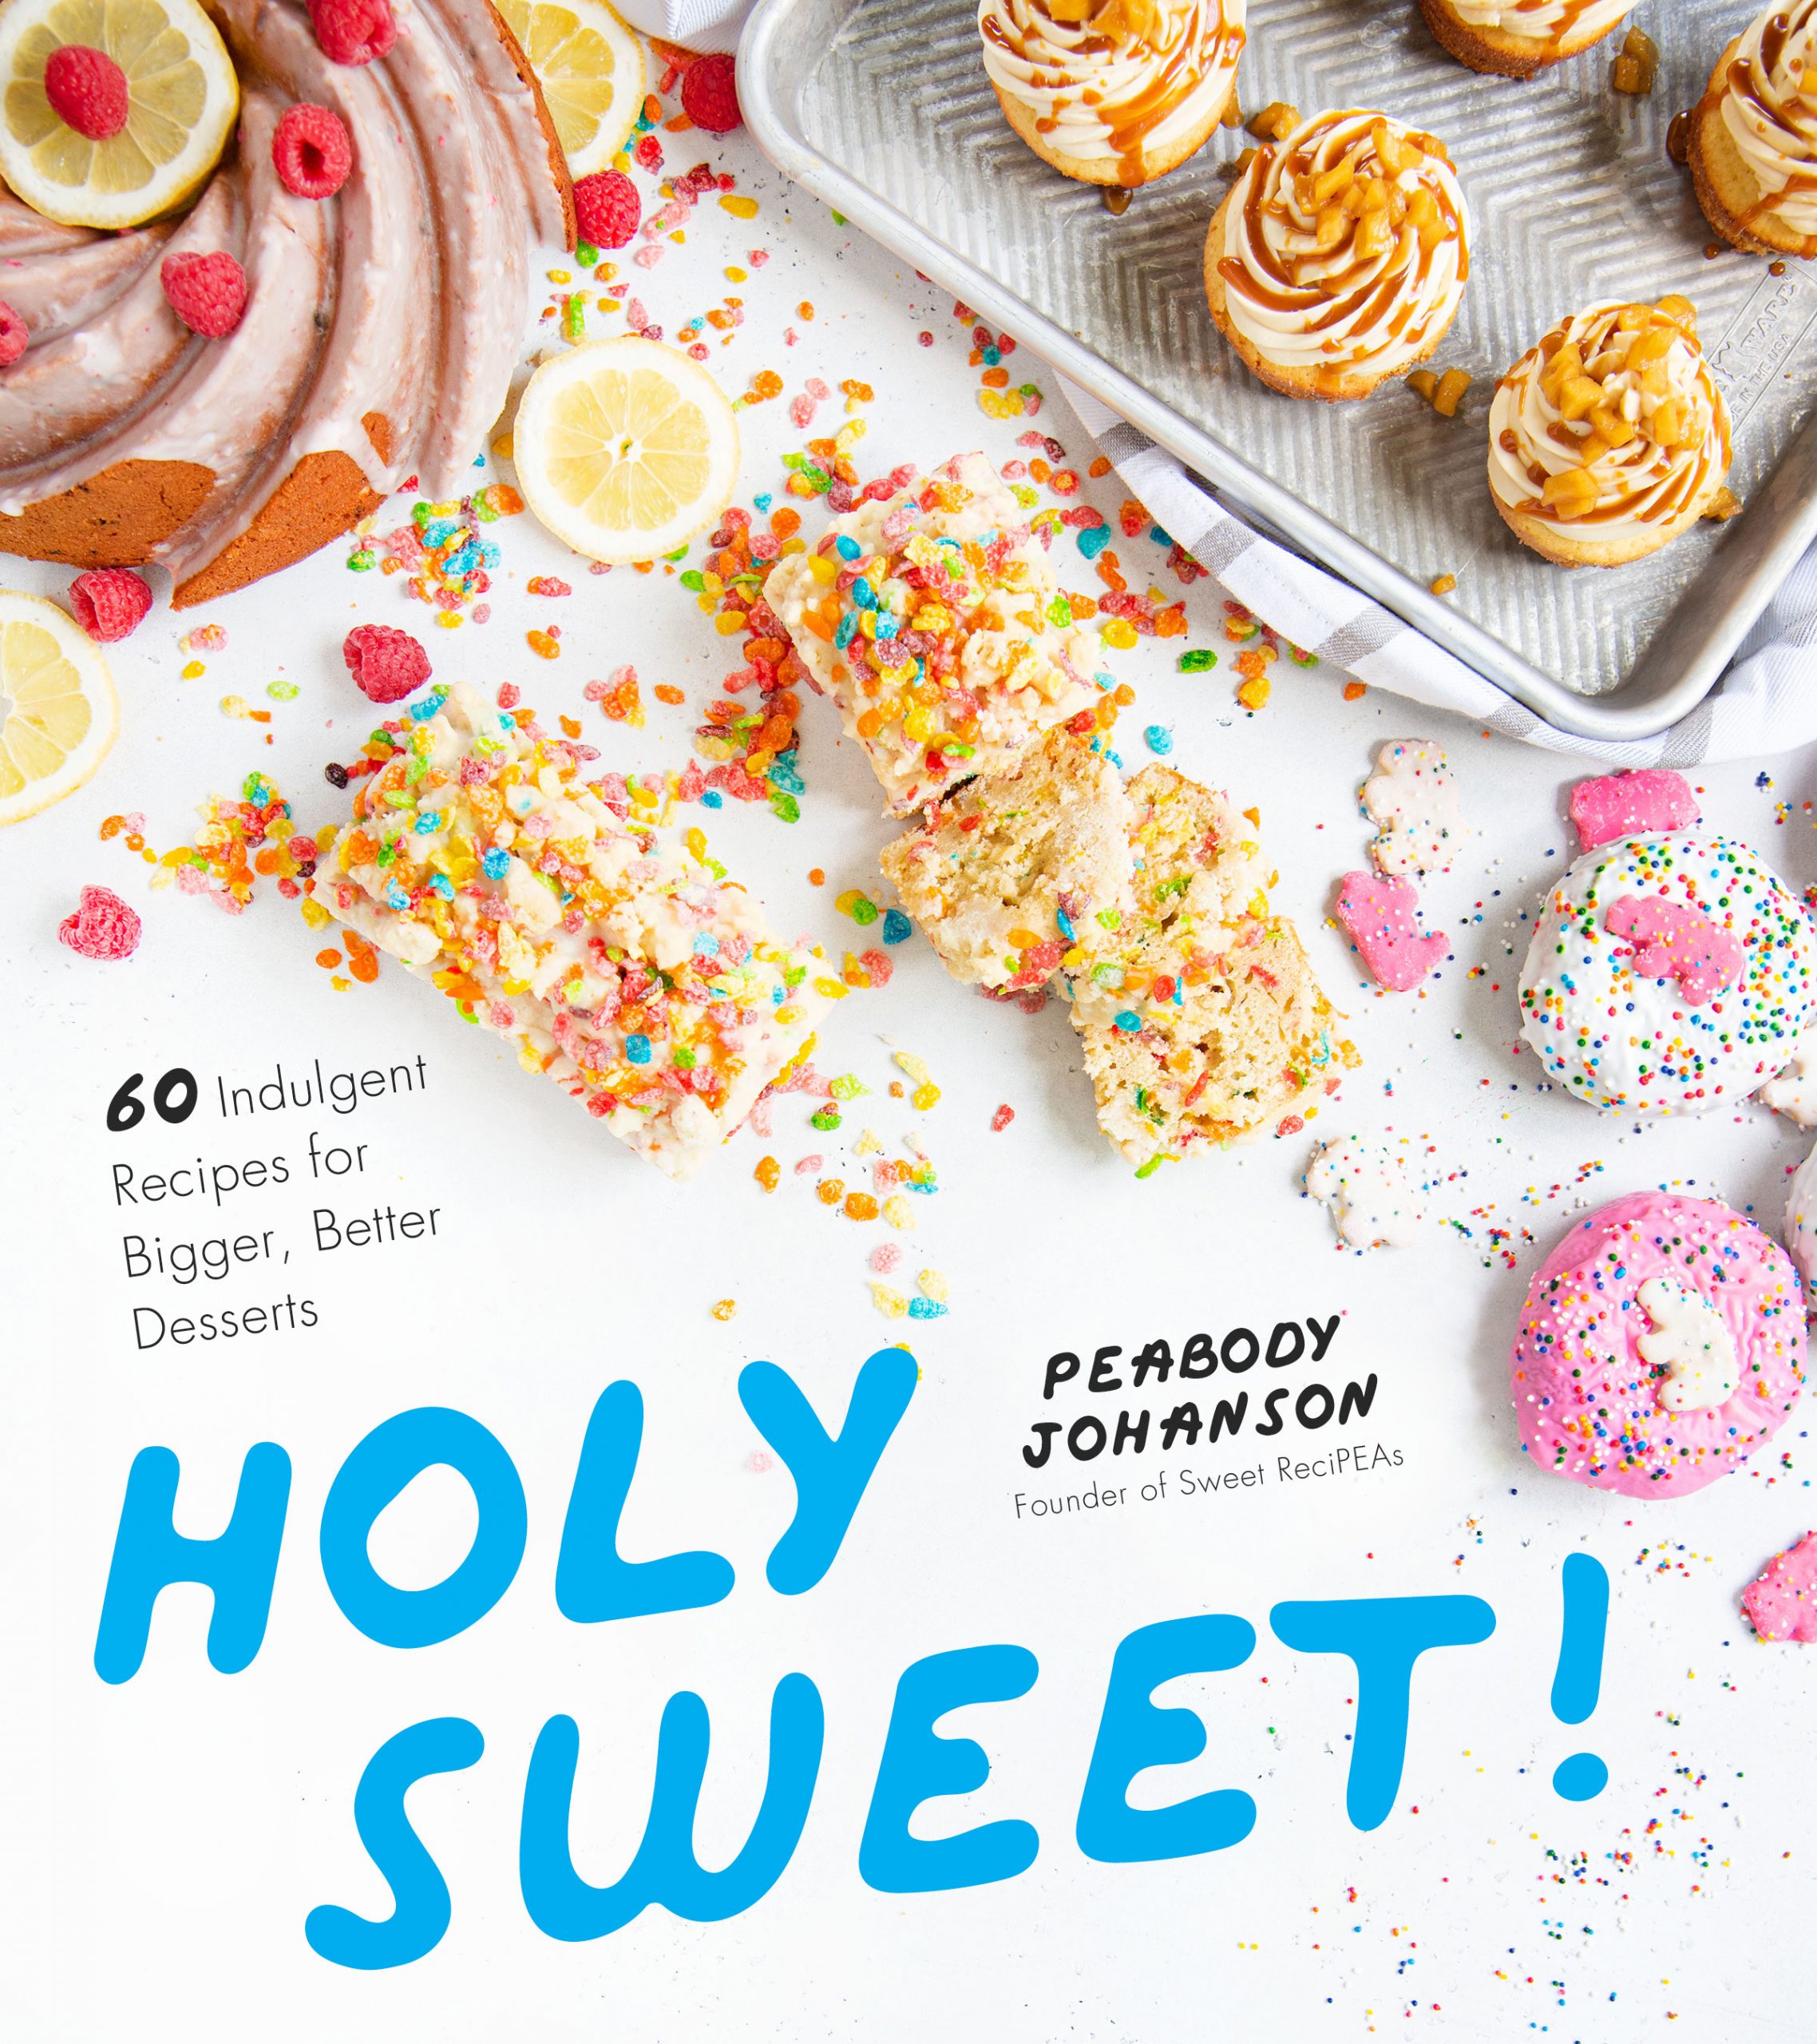
1 Copy of her new cookbook “Holy Sweet! 60 Indulgent Recipes for Bigger, Better Desserts”
Prize #9 from Megan of Strawberry Blondie Kitchen
1 Copy of her cookbook, “Incredible One-Pot Cooking: Easy, Delicious Recipes for Exciting Meals Without the Mess”

Prize #10 from Nicole of For the Love of Food Blog
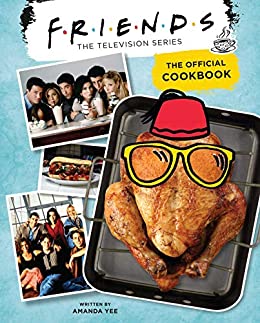
1 Copy of “Friends: The Official Cookbook”
Prize #11 from Michaela from An Affair from the Heart, Jennifer from Take Two Tapas and Michele from West Via Midwest
ONE (1) $75 Amazon gift card
Prize #12 from Shanaka from It’s Shanaka
ONE (1) $25 Amazon gift card
Prize #13 from Ashley from Cheese Curd In Paradise
Prize #14 from Amy from House of Nash Eats
ONE (1) $100 Amazon gift card


Wow your cake pops look perfect. Thanks for the step by step photos. I think I can try this and hopefully mine look as good as yours.
These pumpkins are super cute and fun for Halloween. I know my kids would love them!
These are so super cute! I love the colored sticks too. I need to find them!
Thank you! The coloured sticks were a dollar store find. 🙂