Air Fryer Roasted Garlic
Making roasted garlic in the air fryer is quick, easy, and ready in half the time of using a traditional oven. Use this creamy, sweet garlic in dressings or dips, on top of a pizza, or in place of fresh garlic in almost any recipe. You can store a batch in the refrigerator for several weeks to be ready anytime.
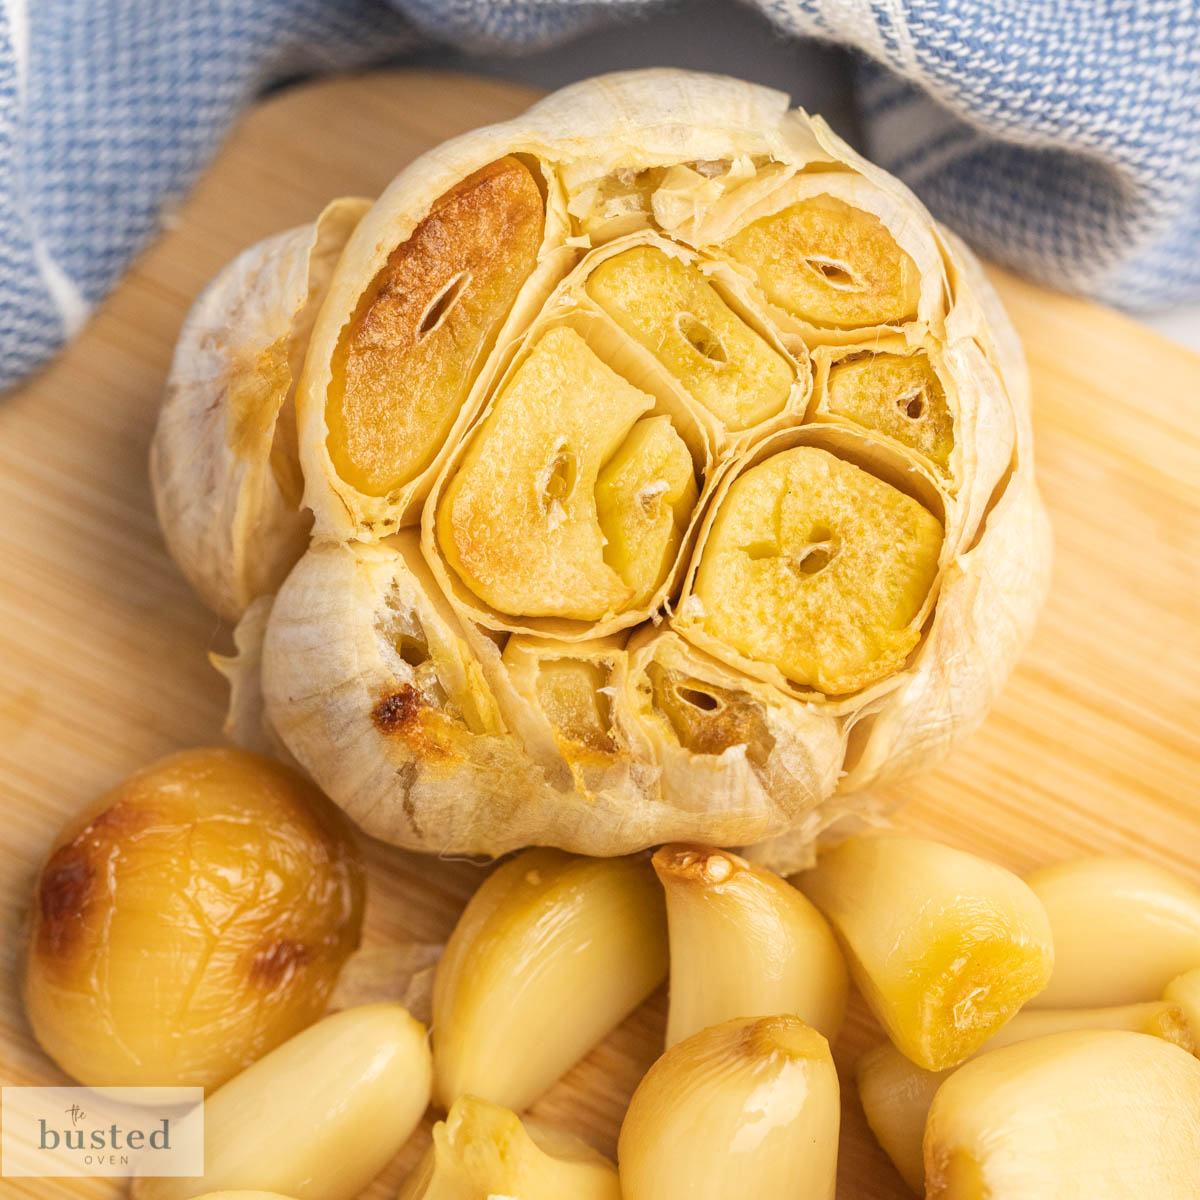
Roasted garlic, with its golden brown color, creamy texture, and sweet flavor, is a wonderful addition to extra flavor to your favorite dishes. Using the air-fryer, this delicious garlic cooks in less than half the time than using a traditional oven.
One of our favorite uses for air fryer roasted garlic is in garlic compound butter or squashed and spread on garlic toast.
Roasted garlic is a delicious ingredient that you can add to almost any recipe.
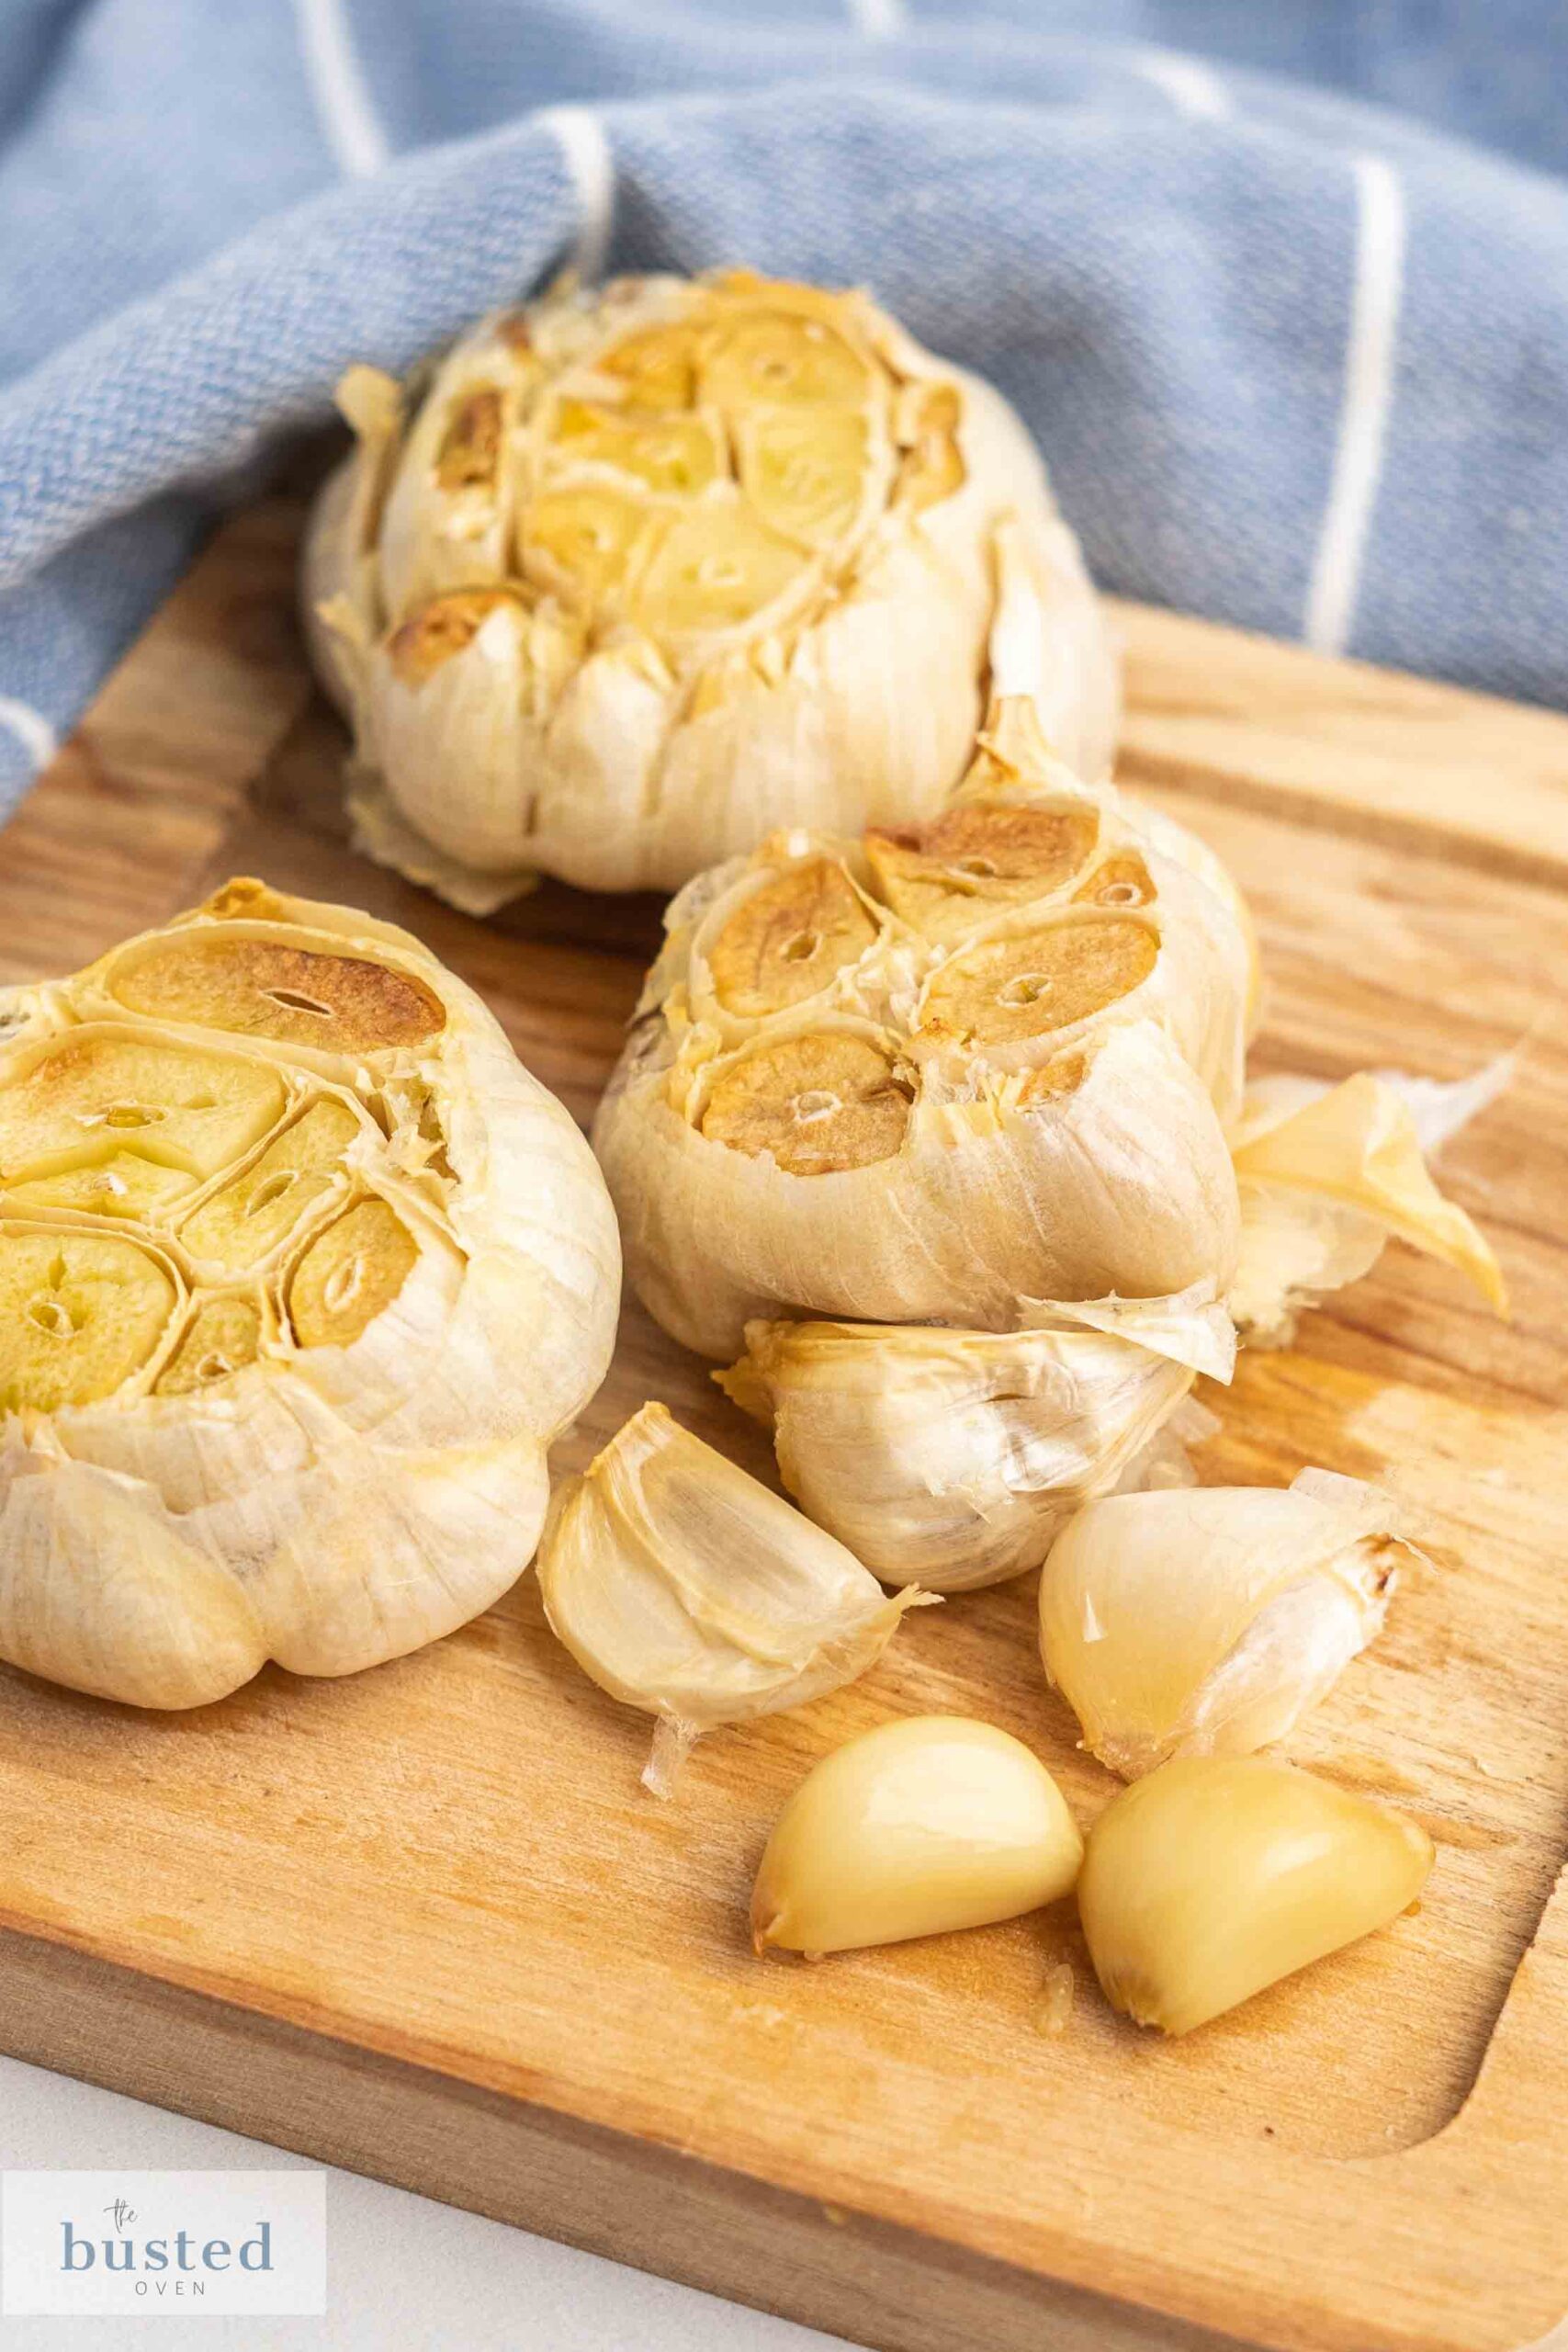
When garlic is roasted, it becomes soft and creamy. Roasted garlic cloves retain their garlicky goodness but take on a slightly sweet, caramelized flavor, which is less pungent than raw garlic.
The softened garlic cloves can be pureed and mashed and spreadable.
The mellow flavor makes it perfect for spreading directly on some crusty bread for a delicious, rich garlic bread, adding to mashed potatoes for a burst of flavor, or as a pizza topping. Roasted garlic tastes great on homemade Porcini Mushroom Pizza.
Roasted garlic can be pureed in dips, spreads, and dressings. It is also perfect for adding to pasta, chicken, pork, or beef dishes.
When roasted in the air fryer, it is ready in less time than a traditional oven. You can roast as few or as many bulbs as you need, and it can be stored in the refrigerator or freezer until ready to use.
Ingredients in Roasted Garlic
Only two ingredients are needed to make roasted garlic in the air fryer; you don’t need to worry about exact measurements. You need:
- Fresh, whole garlic bulbs
- Olive oil
Optionally, you can add a bit of sea salt or other seasonings such as seasoning salt, chili powder, or all-purpose seasoning if you want some additional flavor.
Step by Step Instructions
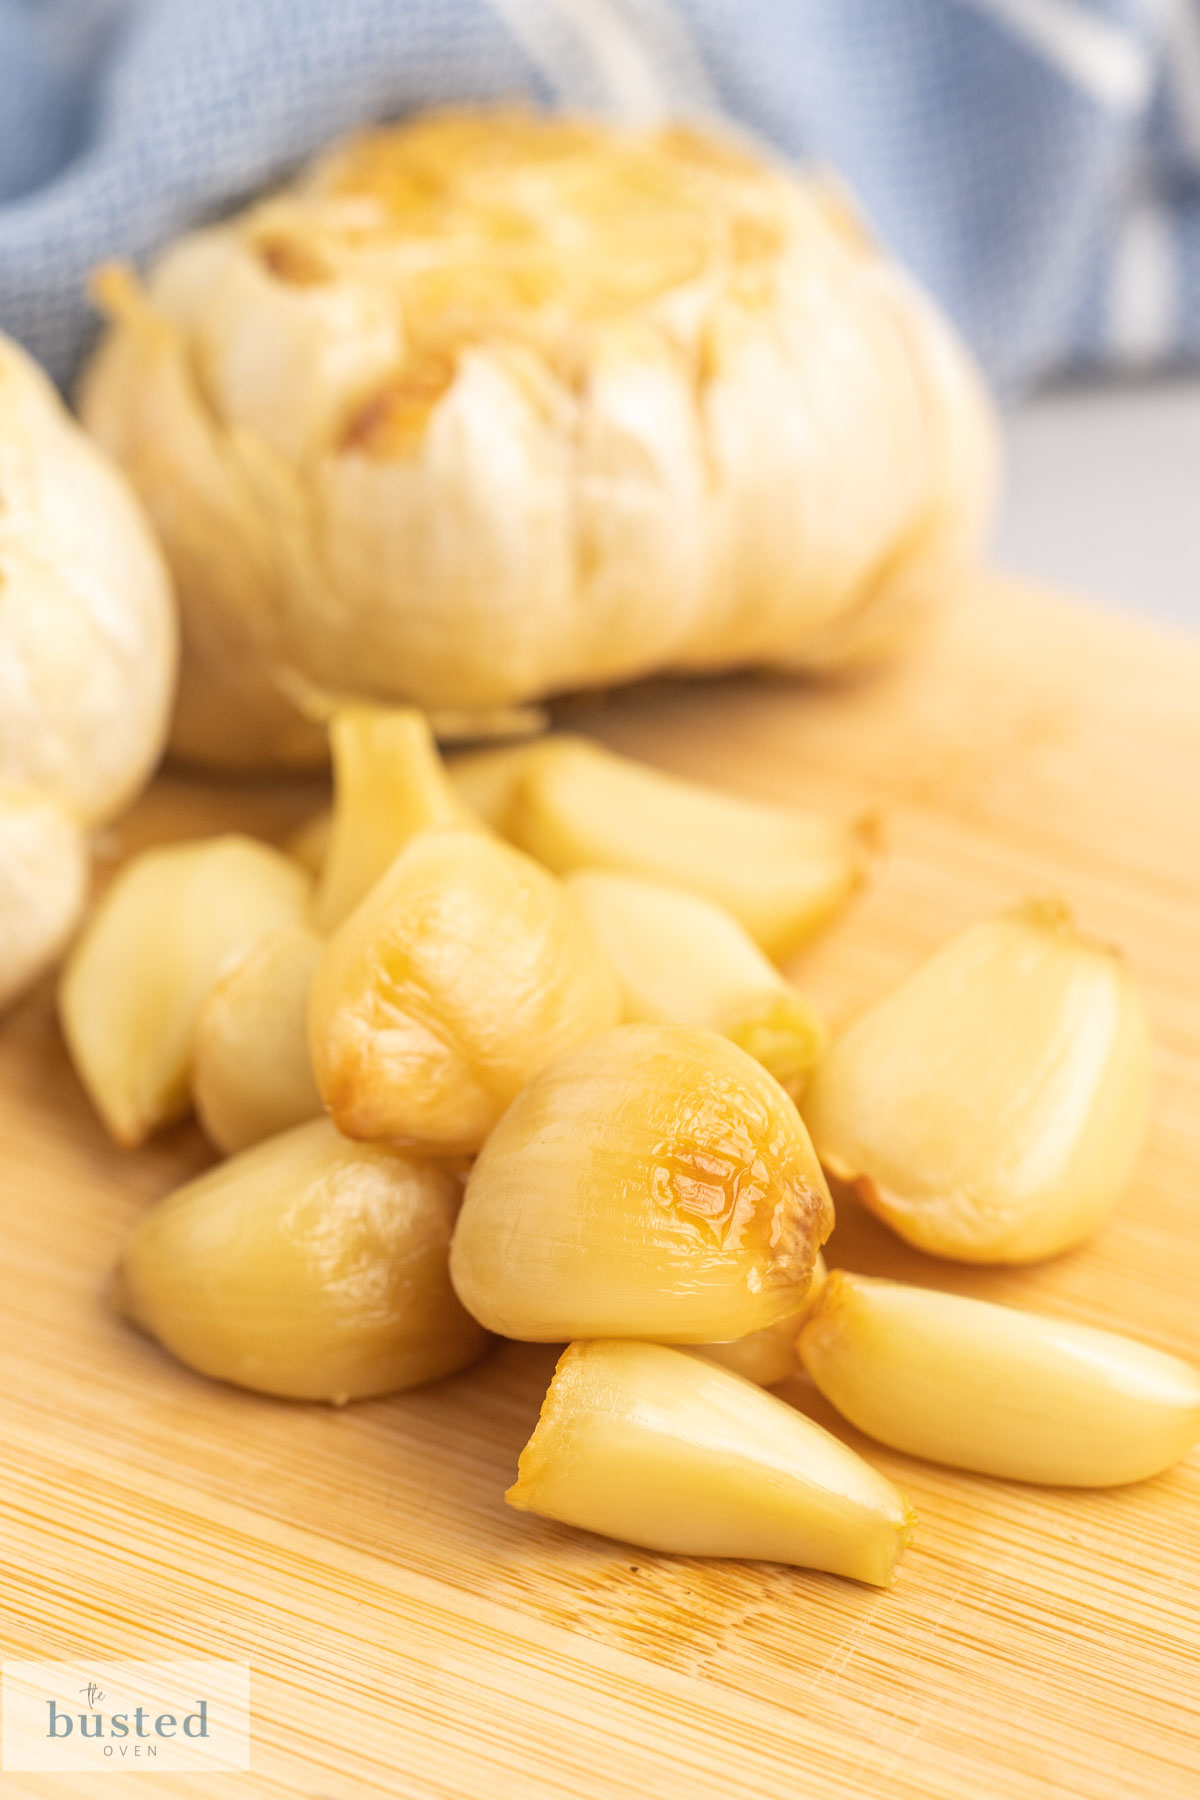
Begin by slicing off the top of the garlic bulb with a sharp knife. You want to expose the individual garlic cloves. It’s okay if the smaller cloves around the edges are still fully enclosed in the paper skin; the idea is to open up enough of the bulb so the olive oil can flow between the cloves.
Next, using your fingers, rub the papery skin off the bulbs until you can’t easily flake anymore off.
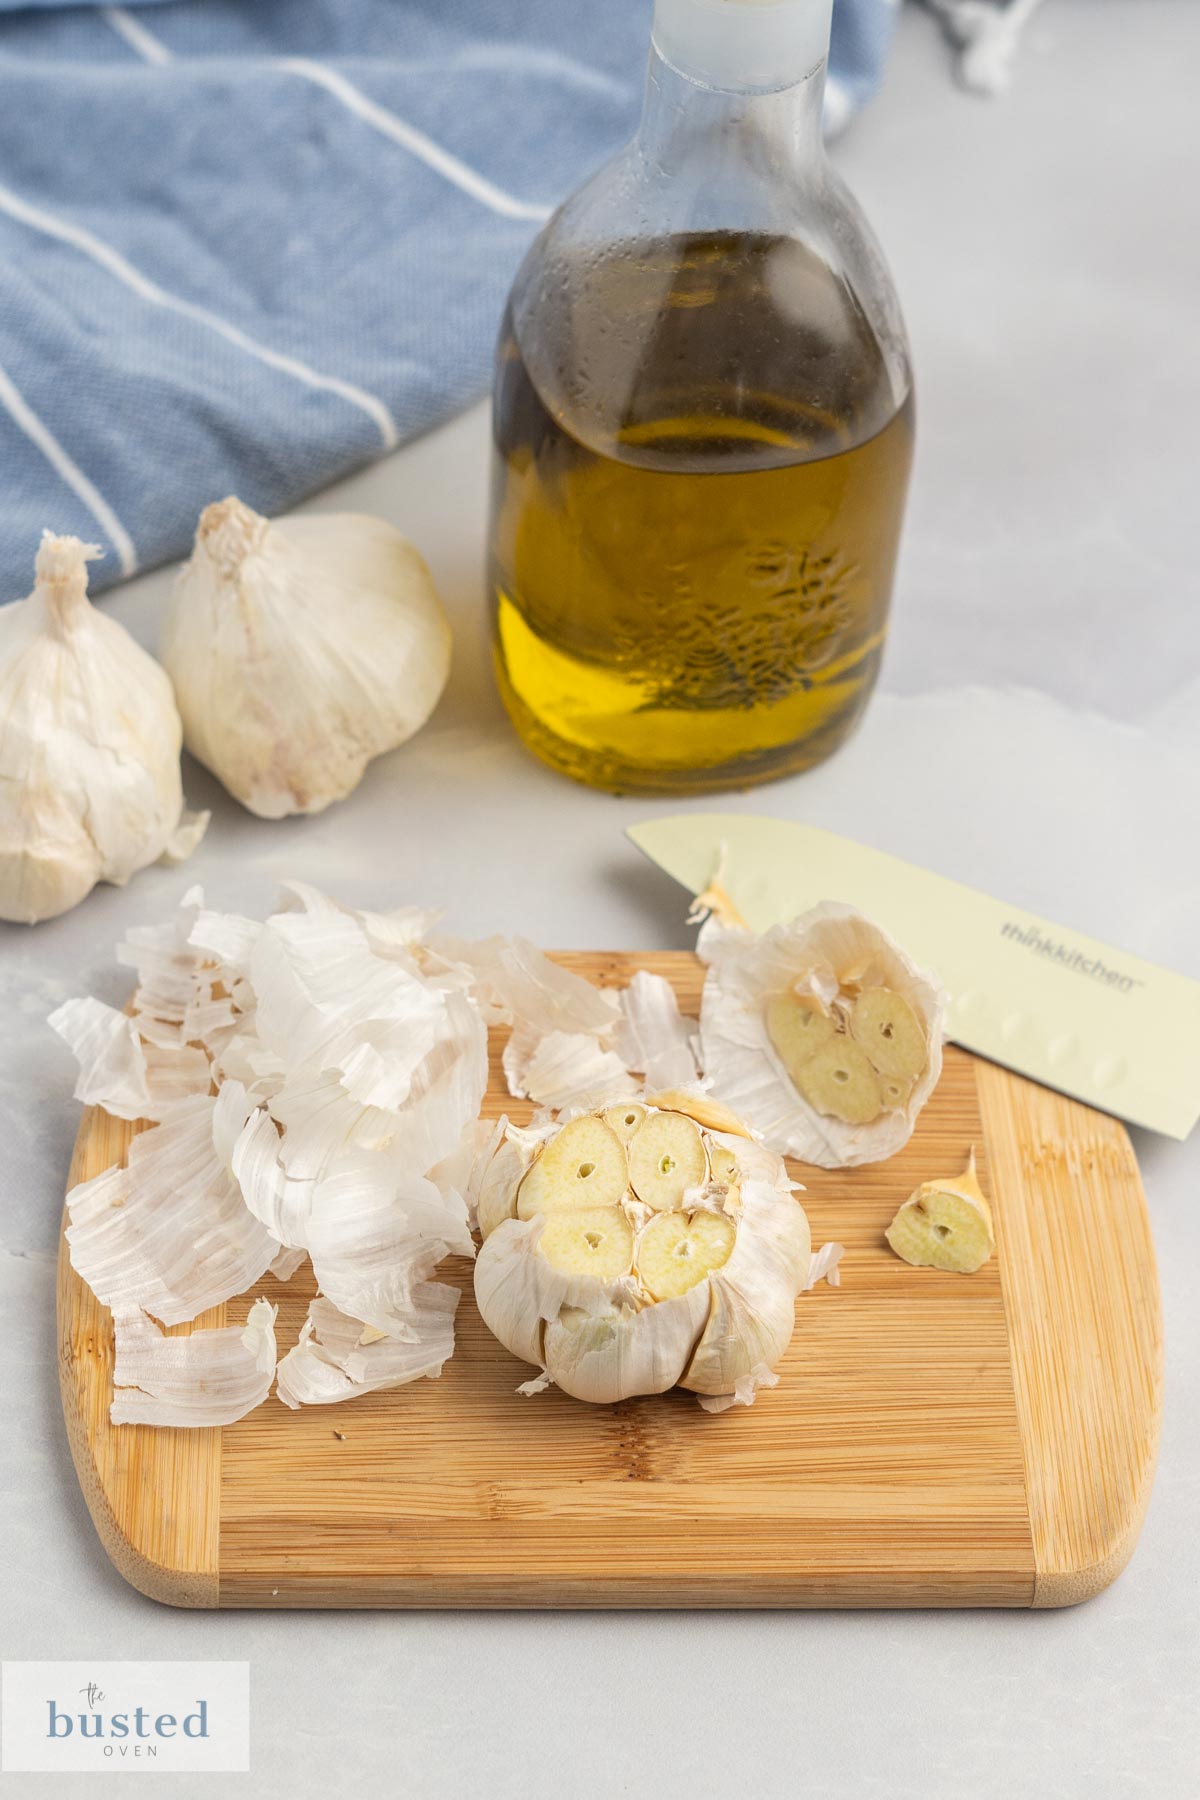
Place the bulbs in a piece of tin foil big enough to wrap the entire bulb, then drizzle some extra virgin olive oil over each bulb. Avocado oil may be used if you don’t like the flavor of olive oil.
You want to use enough to cover the bulb and drip down the sides fully and between the cloves, about one tablespoon per bulb, depending on how big they are.
Then, wrap the tin foil over the garlic, ensuring they are fully sealed.
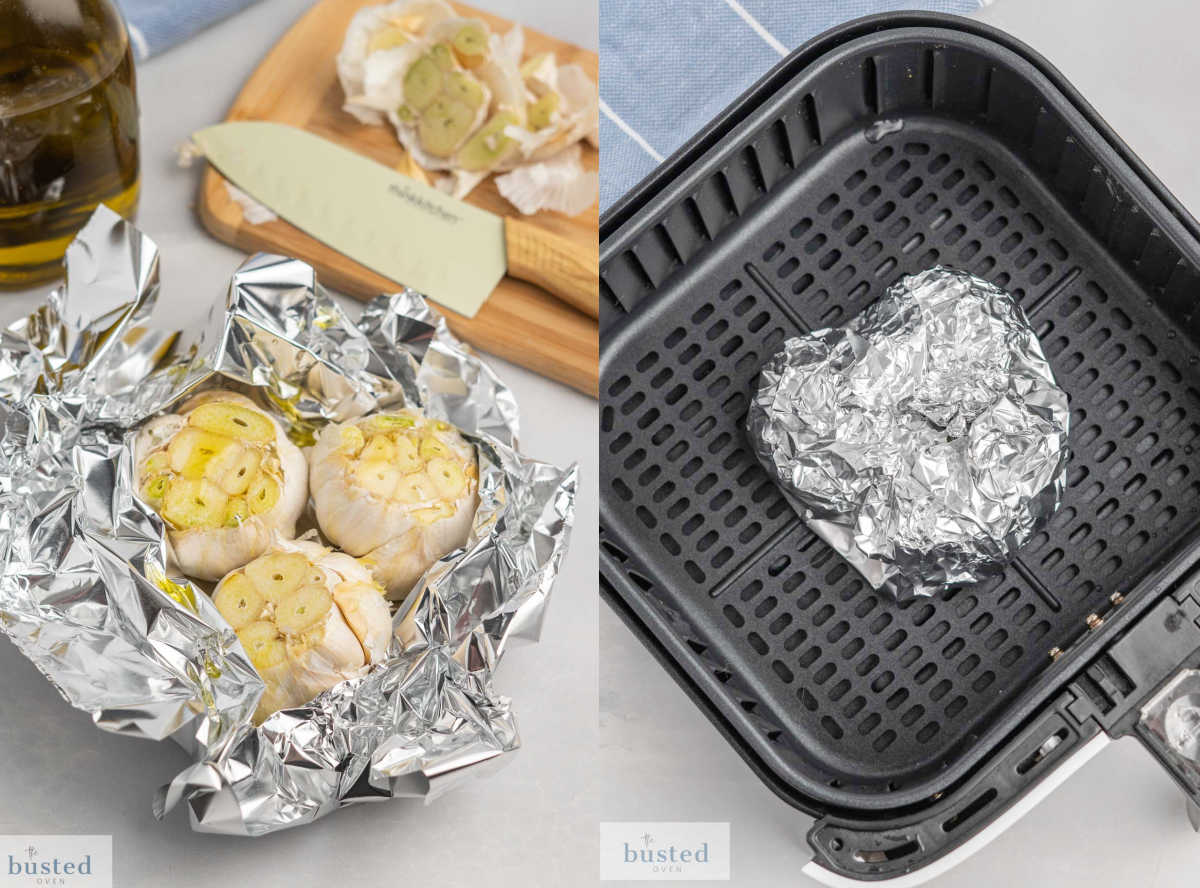
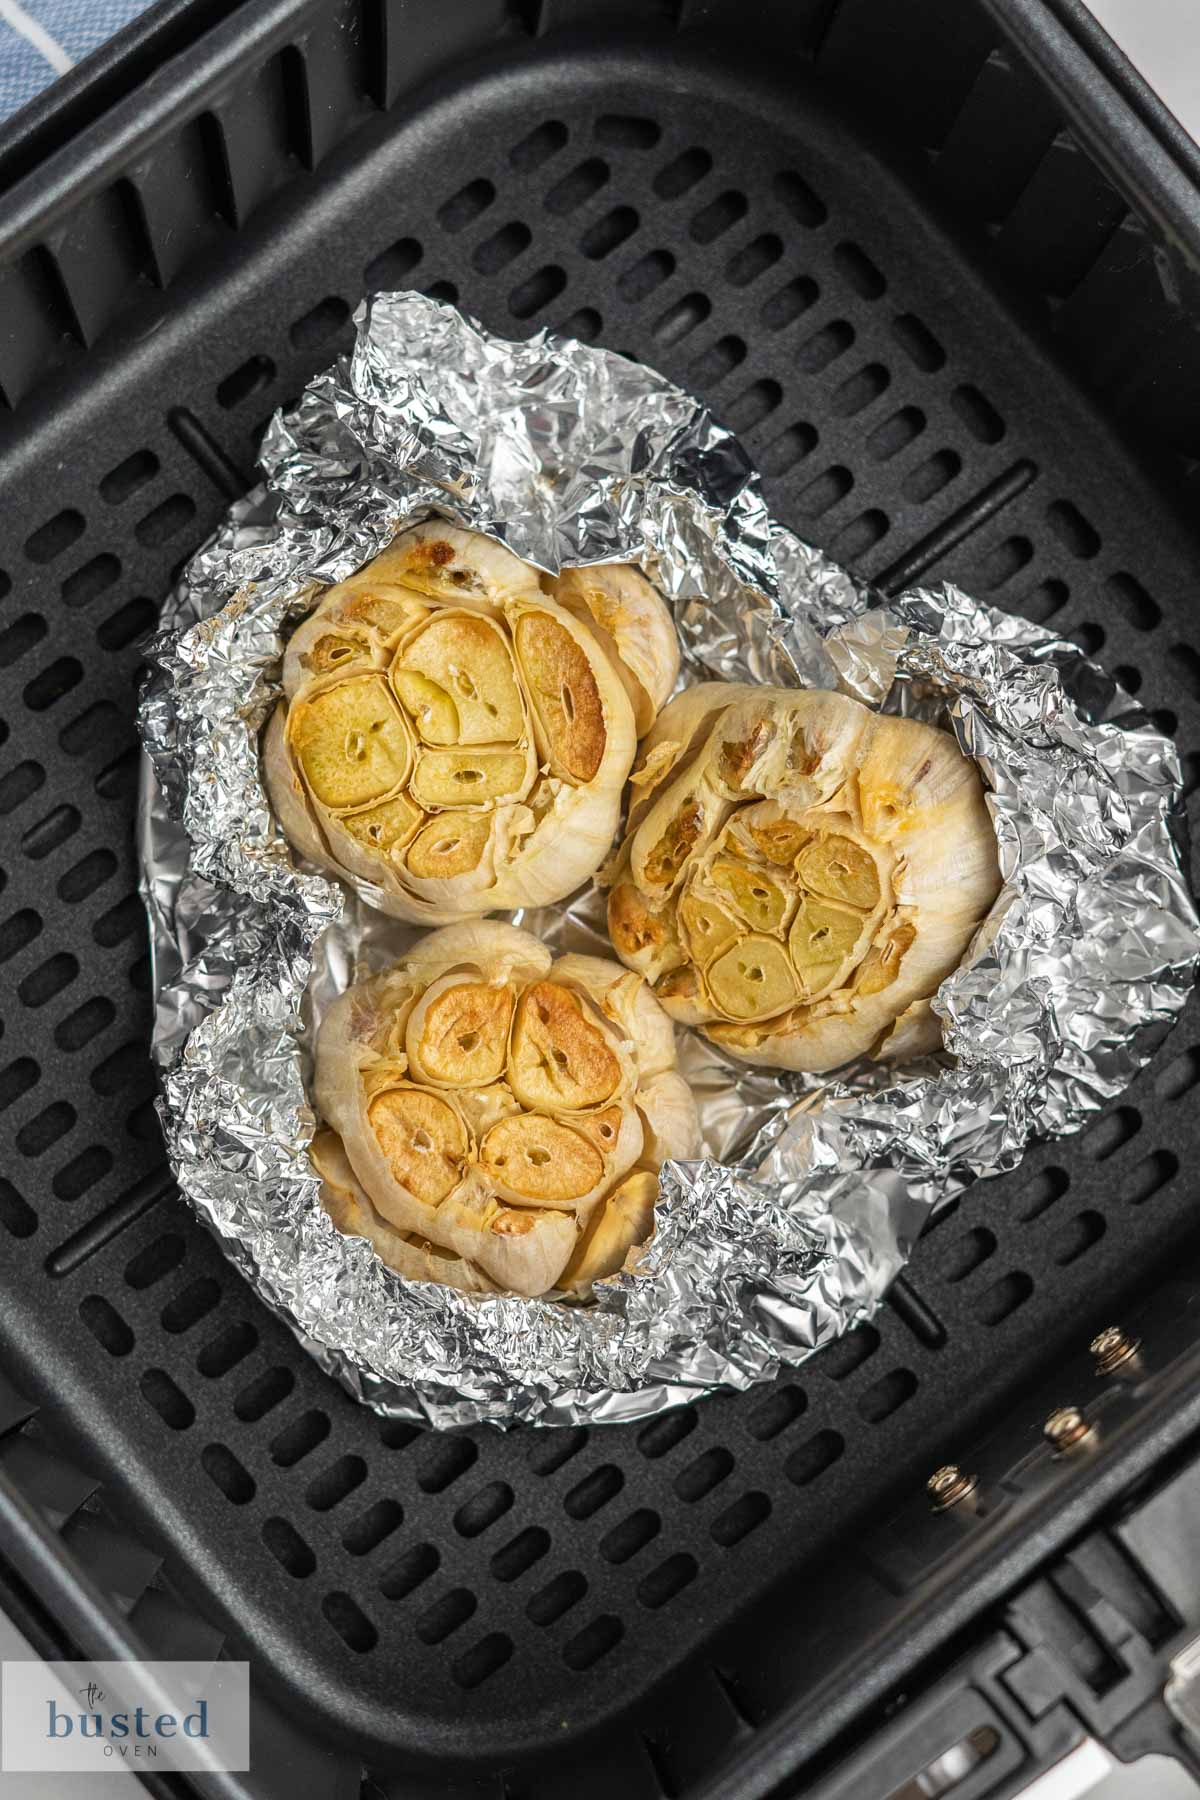
Place the tinfoil package into the air fryer basket. Place the basket in the air fryer, set it to 390°F, and cook the garlic for 20-25 minutes.
Unwrap the garlic to test for doneness. You should be able to poke a toothpick into the garlic cloves easily. If the cloves are still too firm, cook for 2 minutes at a time until they are done. The cooking time will vary a bit depending on the size of the garlic heads, the variety of the garlic, and how fresh it is
How to use Air Fried Garlic
Roasted garlic is a fantastic ingredient because when garlic is roasted, the garlic is a bit milder and has a slightly creamy, caramelized flavor.
You can use roasted garlic instead of fresh garlic in almost any recipe.
Some of our favorite ways to use roasted garlic are:
- add it to mashed potatoes for a burst of flavor.
- use it in twice baked potatoes instead of fresh garlic or garlic powder.
- use it instead of fresh garlic in your favorite dips, like sriracha mayo.
- Peel the roasted garlic cloves and add them to homemade pizza before baking.
- add it to pasta sauces or pizza sauce.
- use it to flavor roasted chicken breast.
- simply spread it on some crusty bread for delicious, easy garlic bread.
- use it in homemade salad dressing.
Pro-Tip : Store leftover roasted garlic in a glass jar filled with enough olive or avocado oil to submerge the cloves. Store the jar in the refrigerator and use the cloves as needed. They should last about two weeks. The oil will take on the garlic flavor and can be used as well. It makes a great addition to salad dressings.
Additional Tips
- Make sure the garlic cloves are covered in olive oil. The olive oil helps to soften and caramelize the garlic.
- You need to make sure the garlic is wrapped tightly in foil. This will help create steam to soften the cloves and prevent the garlic from burning before it is ready.
- If the garlic is soft at the end of the cook-time, but has not caramelized enough for your liking, unwrap it and cook for an additional 2-3 minutes.
FAQS
You can freeze roasted garlic. Peel the cloves and place them in an airtight container or freezer-safe bag. You can also freeze the peeled garlic on a baking sheet. Once the cloves are frozen you can move them to a vacuum seal bag which will keep them fresher and free of freezer burn for longer.
Store roasted garlic by peeling the cloves and placing them in an airtight container in the refrigerator, covering them with olive oil until they are submerged. Mason jars work well for this as they are non-porous and will not retain the smell once washed.
Roasted garlic should keep in the refrigerator for up to 2 weeks. It will keep in the freezer for several months.
More Easy Air Fryer Recipes

Air Fryer Roasted Garlic
Ingredients
- 1-3 bulbs fresh garlic
- 2 Tbsp olive oil
Instructions
- Begin by using a sharp knife to slice off the top of each garlic bulb just to expose the tops of the garlic cloves. You don't have to worry about the smaller cloves on the sides or making sure every clove is visible. You just want to slice enough off that you can drizzle olive oil between them.
- Use your fingers to rub the papery skin off of the outside of the garlic bulbs.
- Place the garlic bulbs on a piece of tinfoil large enough to fully wrap the cloves. You can place several in one piece of foil, or do each one separately.
- Drizzle about 1 tablespoon of oil on each garlic bulb allowing the oil to drip down the sides and between the cloves.
- Wrap the bulbs in the tinfoil making sure they are fully sealed.
- Place the wrapped bulbs in the air fryer basket, place the basket in the air fryer and set it to 390°F.
- Cook the garlic for 25-30 minutes, or until the garlic cloves are soft enough that a toothpick goes in easily. If after 30 minutes they aren't quite done, cook them an additional 2 minutes at a time until they are soft enough.
- Remove the garlic from the air fryer and use as desired.
Notes
Nutritional information is based on third-party calculations and should be considered estimates. Actual nutritional content will vary with brands used, measuring methods, portion sizes and more.


1) Sealing the foil ensures a “steamed” garlic clove, NOT a roasted one. Vent the foil
2) Zero mention on breaking down the “roasted” bulb. So, throw the entire thing (skins and all) in an airtight jar and cover with olive oil?
The steam created while sealed helps soften and cook the garlic faster. You can leave it open, but it will take longer to soften. As far as the mention of breaking down the roasted bulb, it is in the FAQ and the recipe card with the instructions to “peel the cloves” before placing them in the jar. So, it is actually mentioned twice.